Collect product insights from HubSpot automatically
- Катя Рус
- Sep 5, 2024
- 2 min read


To get feedback from your sales team without logging them in PingMi, set up a feedback property in your Hubspot that gets sent to PingMi via Zapier integration.
! If your sales team already has specific property to log product feedback - just do the second step to set up Zap.
Step 1: Create a HubSpot property for feedback (if you don't have now)
Find Hubspot’s instructions for creating a new property here.
In the left-hand Contacts sidebar, click “View all properties”.

3. Click “Manage properties”.

4. Click “Create property”.

5. Fill out the property settings.
Object type: Select “Contact”.
Group: Choose “Conversion information” or any group that suit better for your workflow.
Label: Select a name for the property. For example “Product Feedback
”.
Field type: Select “Multi-line text”
And click “Create”.


6. Add new property to the view.
Navigate again to Contacts -> in actions select “Customize properties”, find the property you just created, and click “Add to your view”.

Now, you will see this property on every contact.
Step 2: Set up a Zap to send feedback in this property to your PingMi account
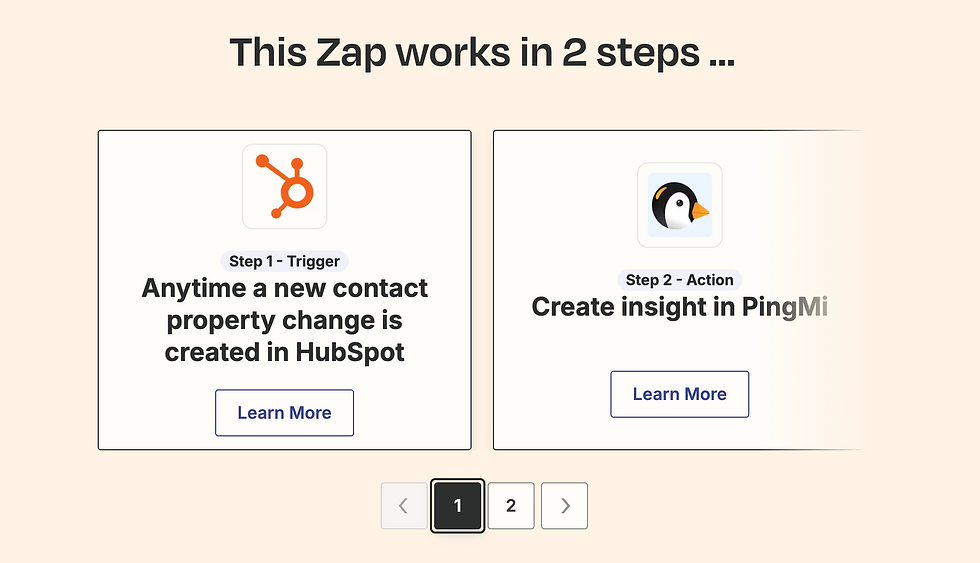
We’ve already set the Zap template, you just need to connect your Hubspot and PingMi accounts. You can find it in the Zap directory here.

1. Set the trigger. Choose Hubspot as the app. Choose “New Contact Property Change” as the trigger event.

2. Connect to your Hubspot account.

3. Select relevant properties for the trigger.
Property name: This is the Hubspot property that will be used to identify trigger events. Choose the new “Product Feedback” property you created.
Additional properties to retrieve: Choose the new “Product Feedback” property here again.
4. Click “Test trigger”. If it’s working, Zapier will be able to find a contact. You should see the “Product Feedback” property listed in the list of properties that Zapier pulls in from Hubspot.

5. Set the action. For the app, select “PingMi”. In the Action Event field, select “Create Insight”.

6. Connect your PingMi account.

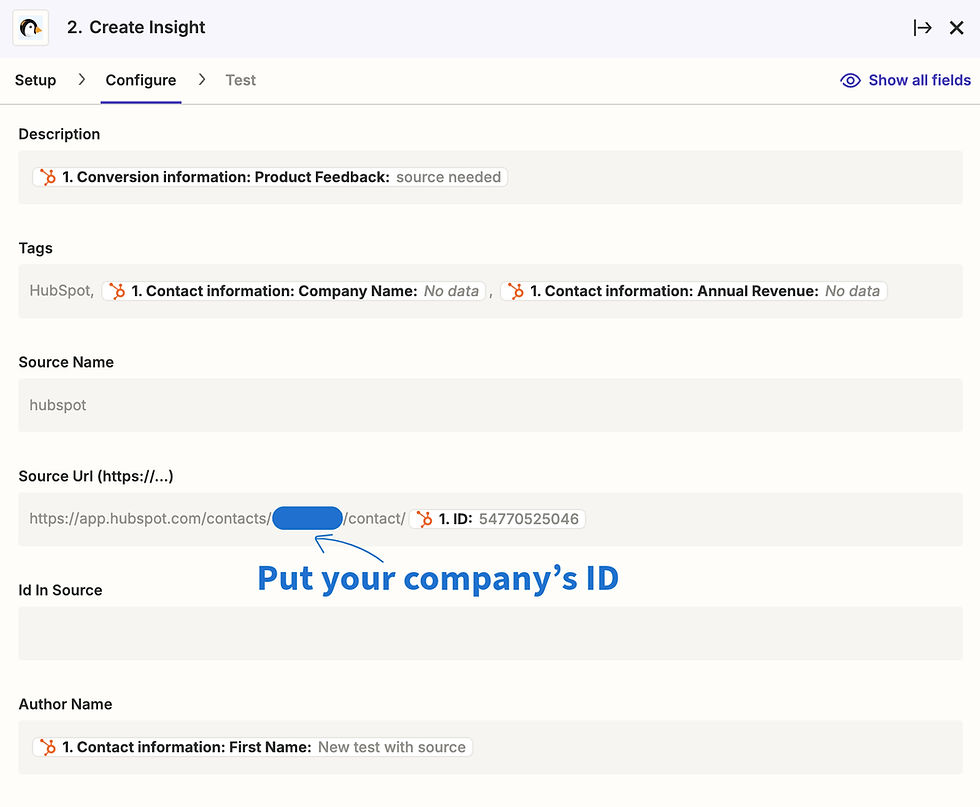
7. Set up the action event. Fill in the following fields:
Description: Choose the Hubspot property that we created earlier called “Product Feedback”.
Tags: Write tag if you want to mark insights additionally in PingMi. We recommend to use HubSpot, company name and revenue as tags.
Source URL: This is the URL for the feedback in Hubspot. You can hardcode the stem of the link and then put the contact ID property at the end to make the source URL go to the contact page for the person who submitted the feedback.
Author Name: Chose the Hubspot property about author, company name or reporter
8. Click “Test and Review” to check that the action works.
You’ll see “Test was successful” if there are no issues.